Introduction
Fiber laser cutting technology has revolutionized the metal fabrication industry, offering precision, speed, and efficiency. For hobbyists and small-scale manufacturers, building a DIY fiber laser cutting head can be an exciting and cost-effective project. At Roclaser, we specialize in high-performance Fiber laser cutting machines and components, making us the perfect partner for your DIY laser cutting journey.
In this guide, we’ll explore the key components of a fiber laser cutting head, how to assemble one yourself, and why choosing Roclaser’s premium parts ensures optimal performance.

---
Key Components of a DIY Fiber Laser Cutting Head
A fiber laser cutting head consists of several critical parts that work together to deliver precise cuts. Here’s what you’ll need
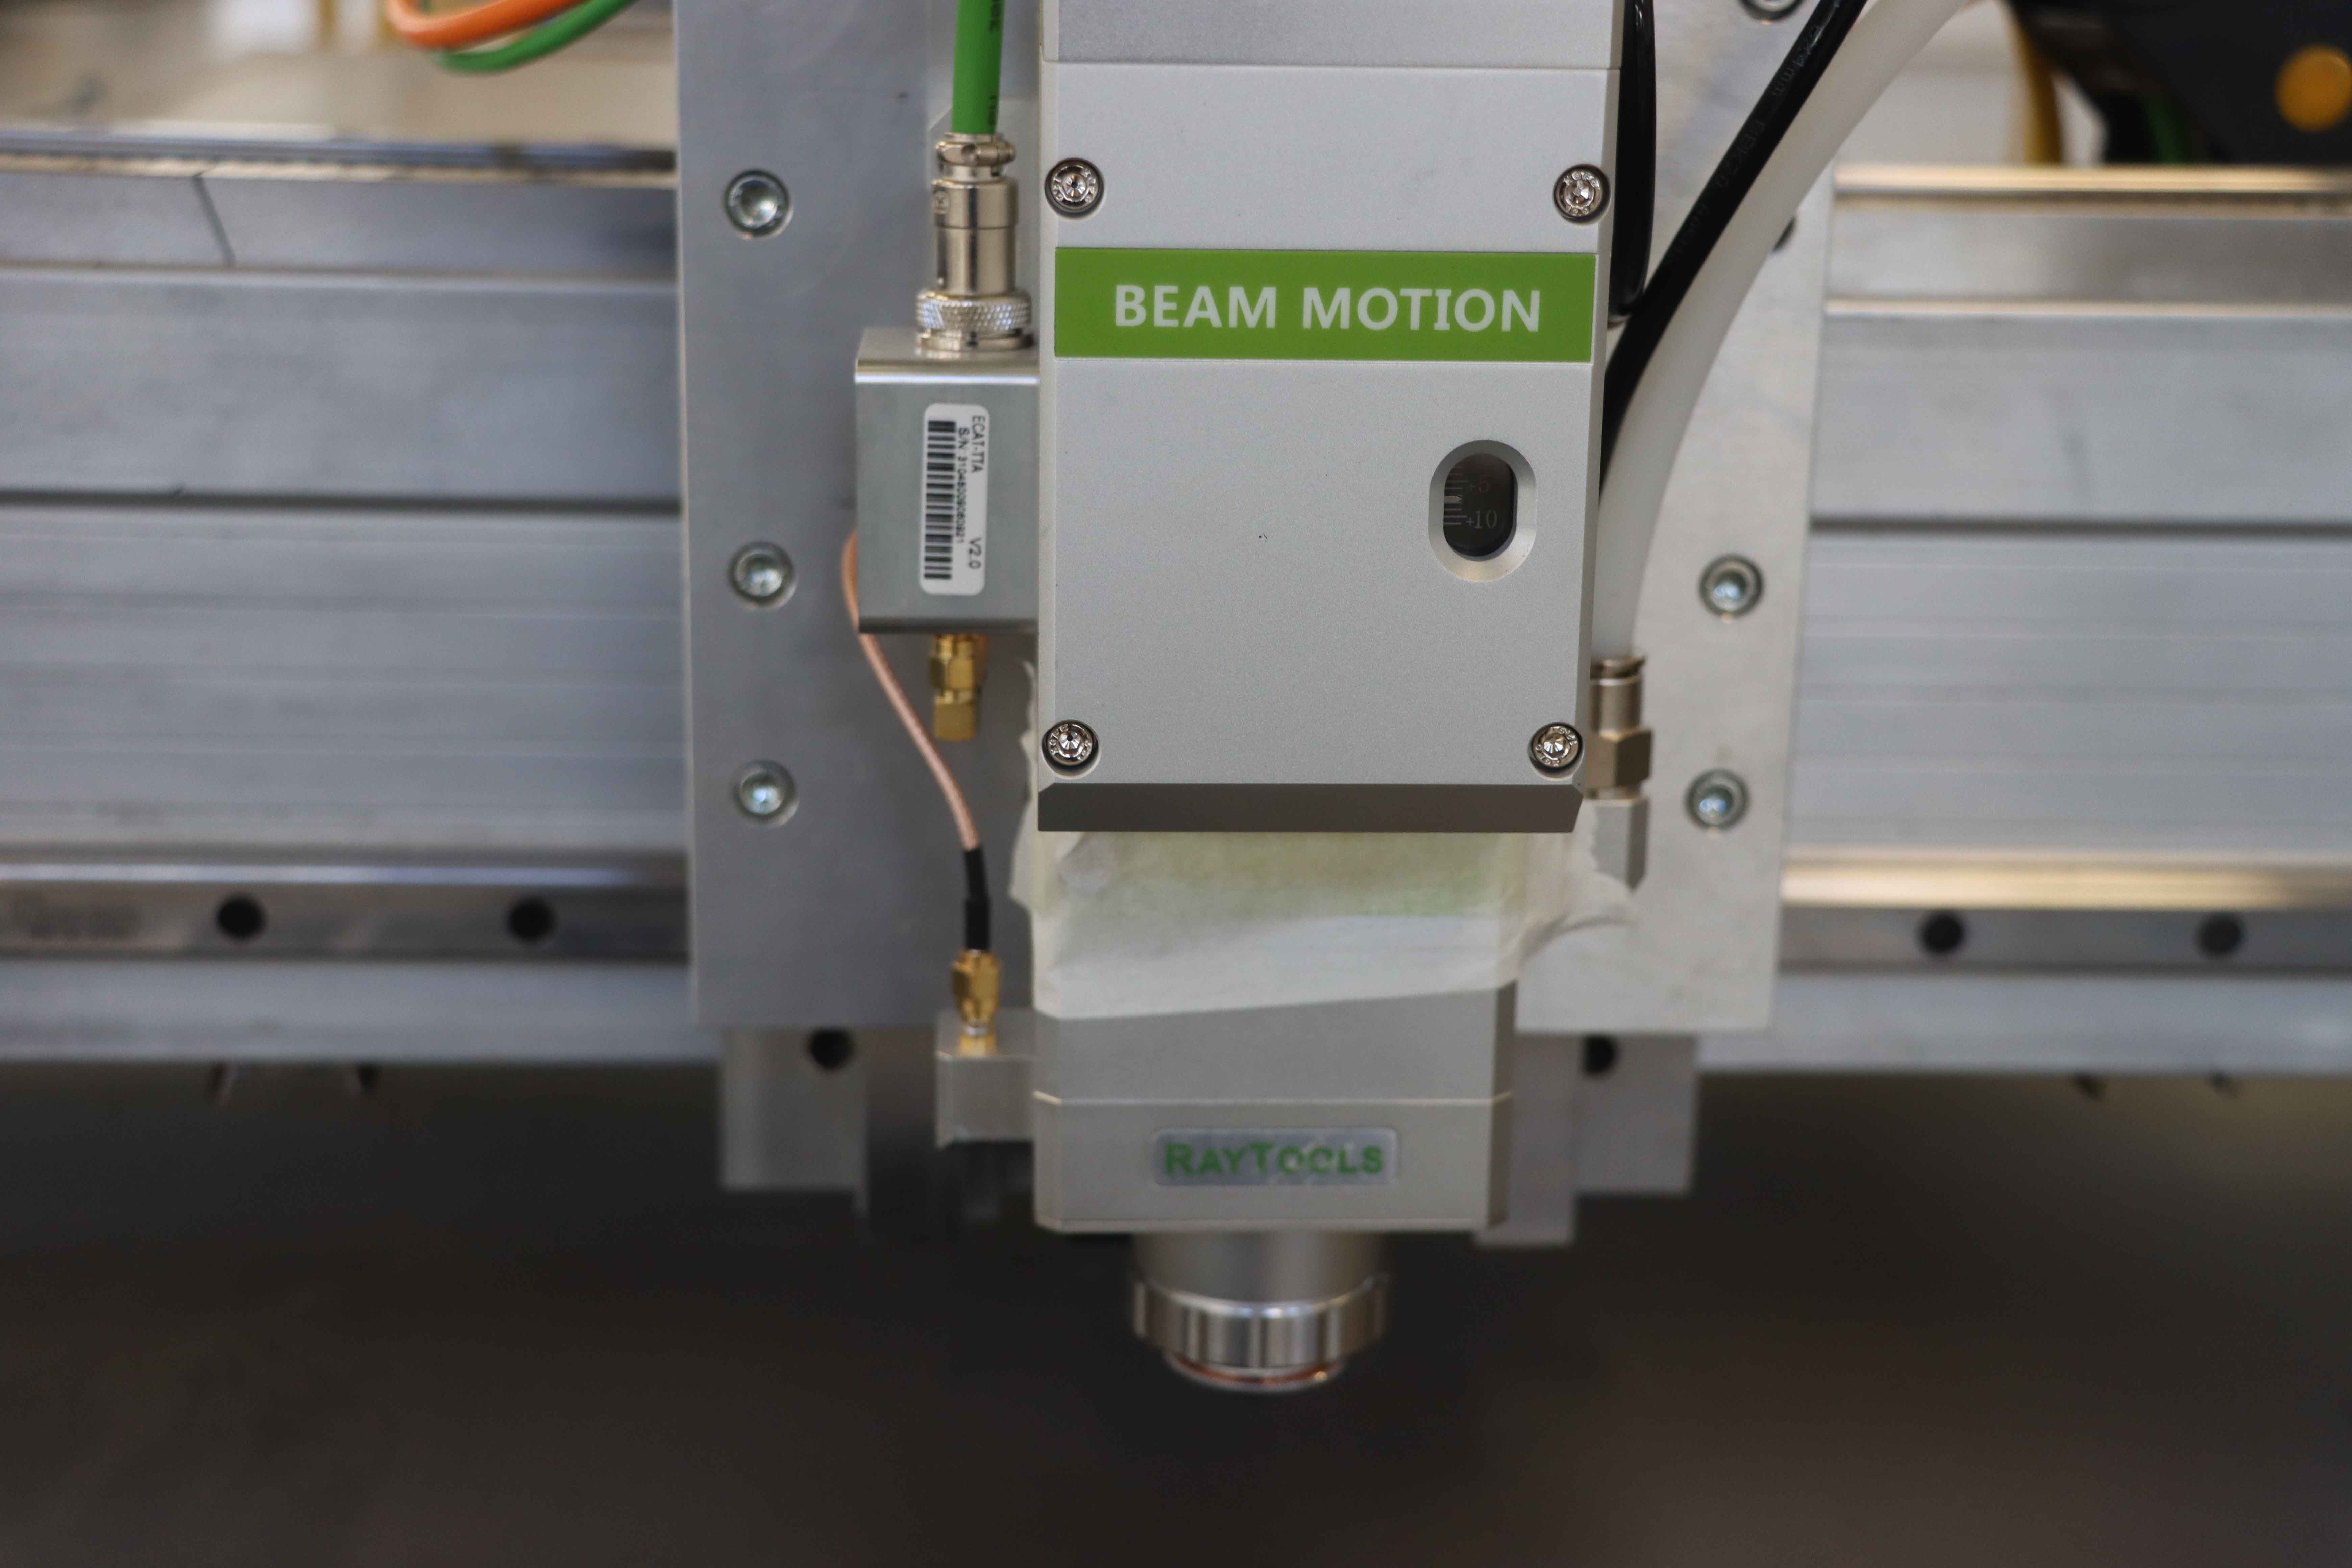
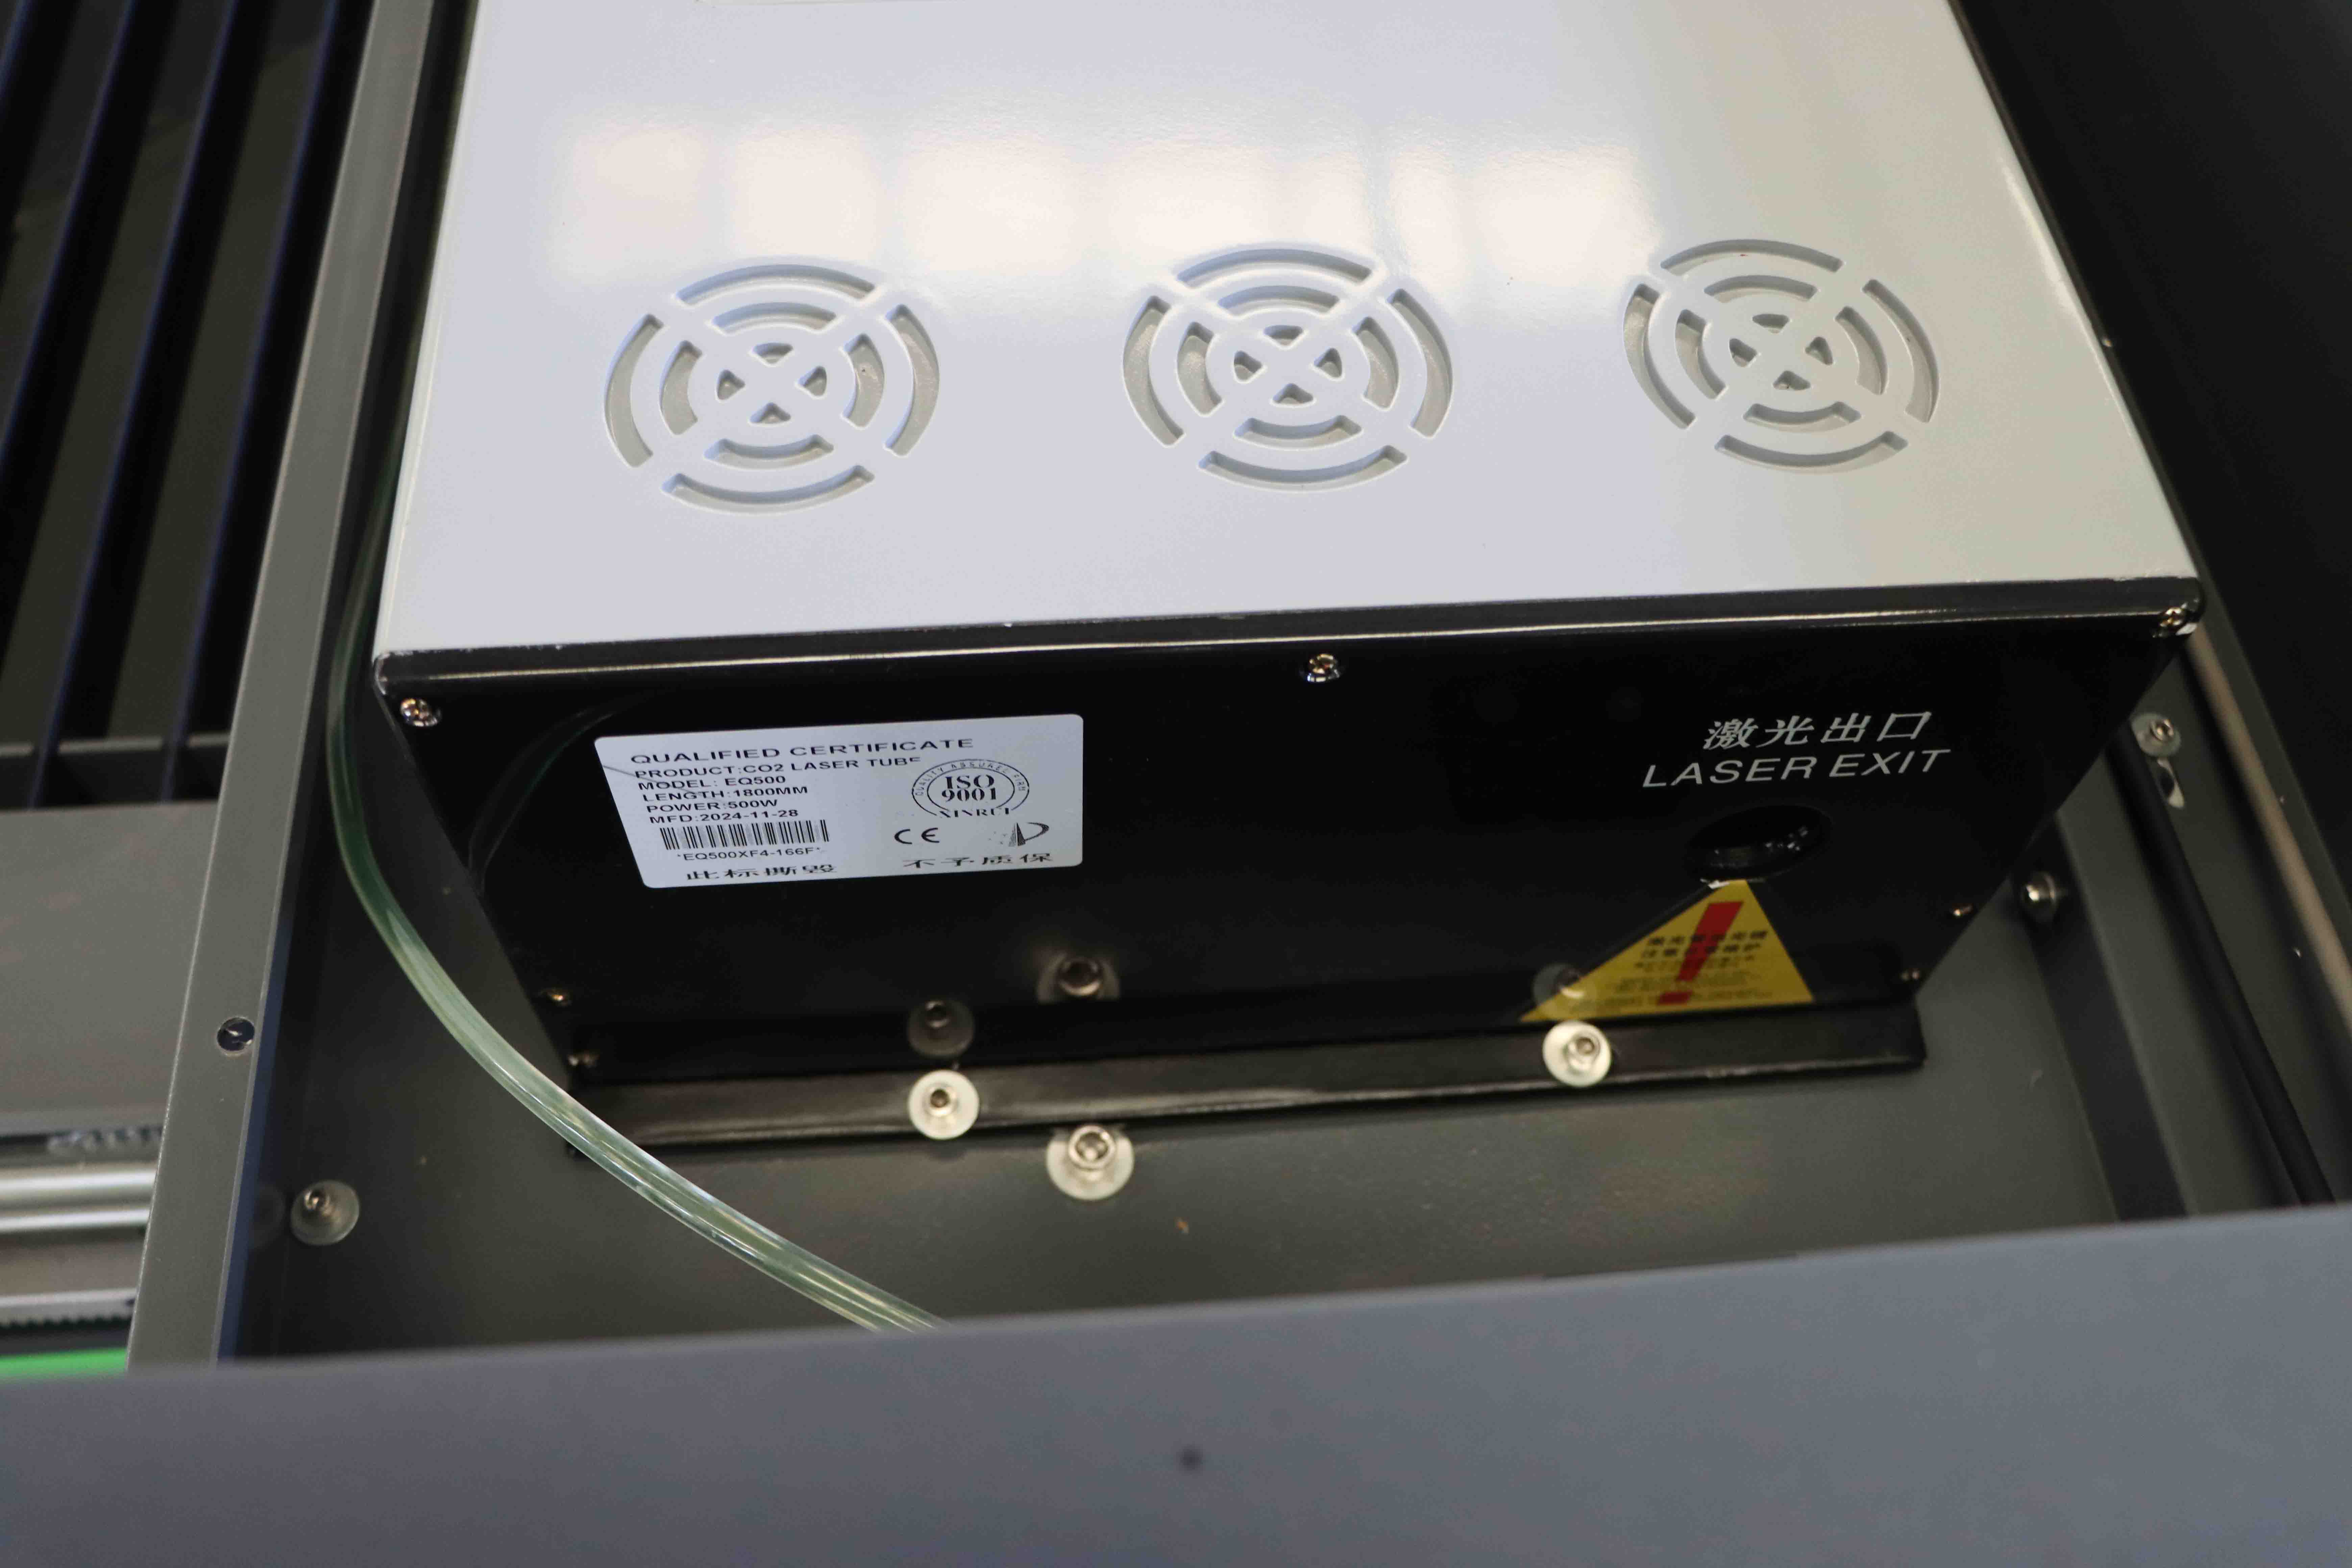
1. Fiber Laser Source – The heart of the system, generating the laser beam. Roclaser offers high-quality fiber laser modules with adjustable power for different material thicknesses.
2. Collimating Lens – Expands and straightens the laser beam for better focus.
3. Focusing Lens – Concentrates the laser beam onto the material for clean cuts.
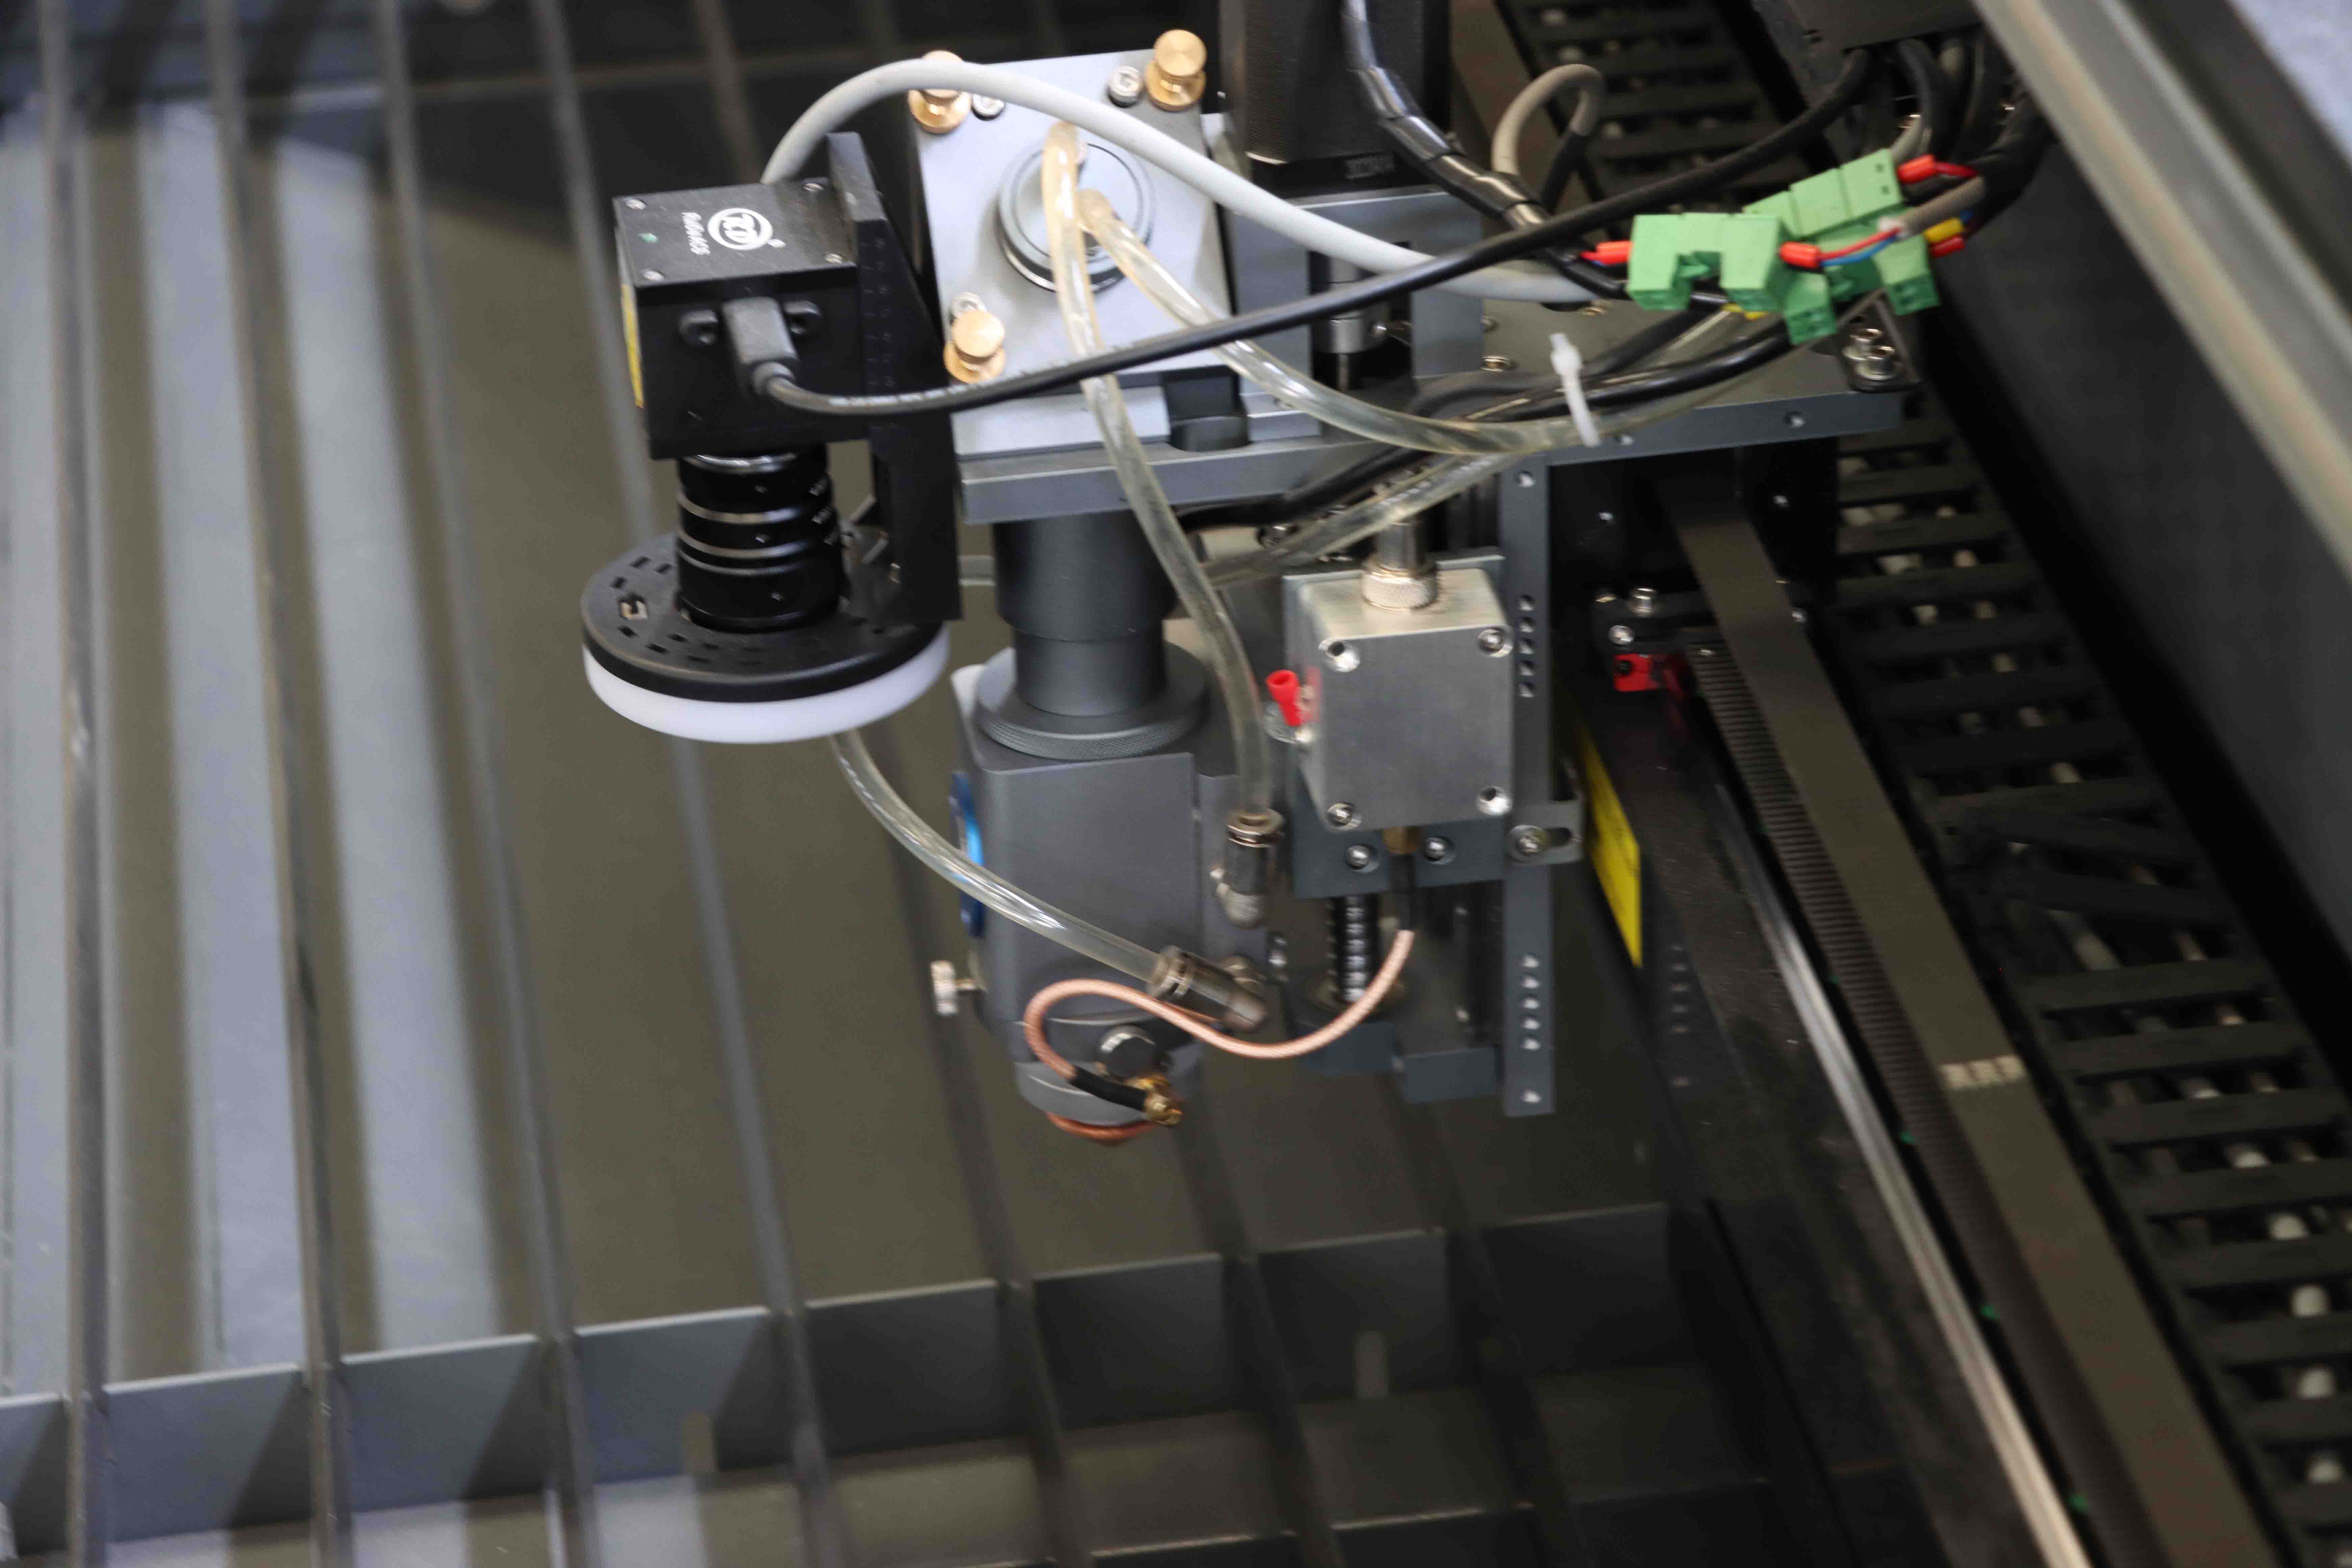
4. Nozzle – Directs assist gas (such as nitrogen or oxygen) to enhance cutting efficiency and reduce slag.
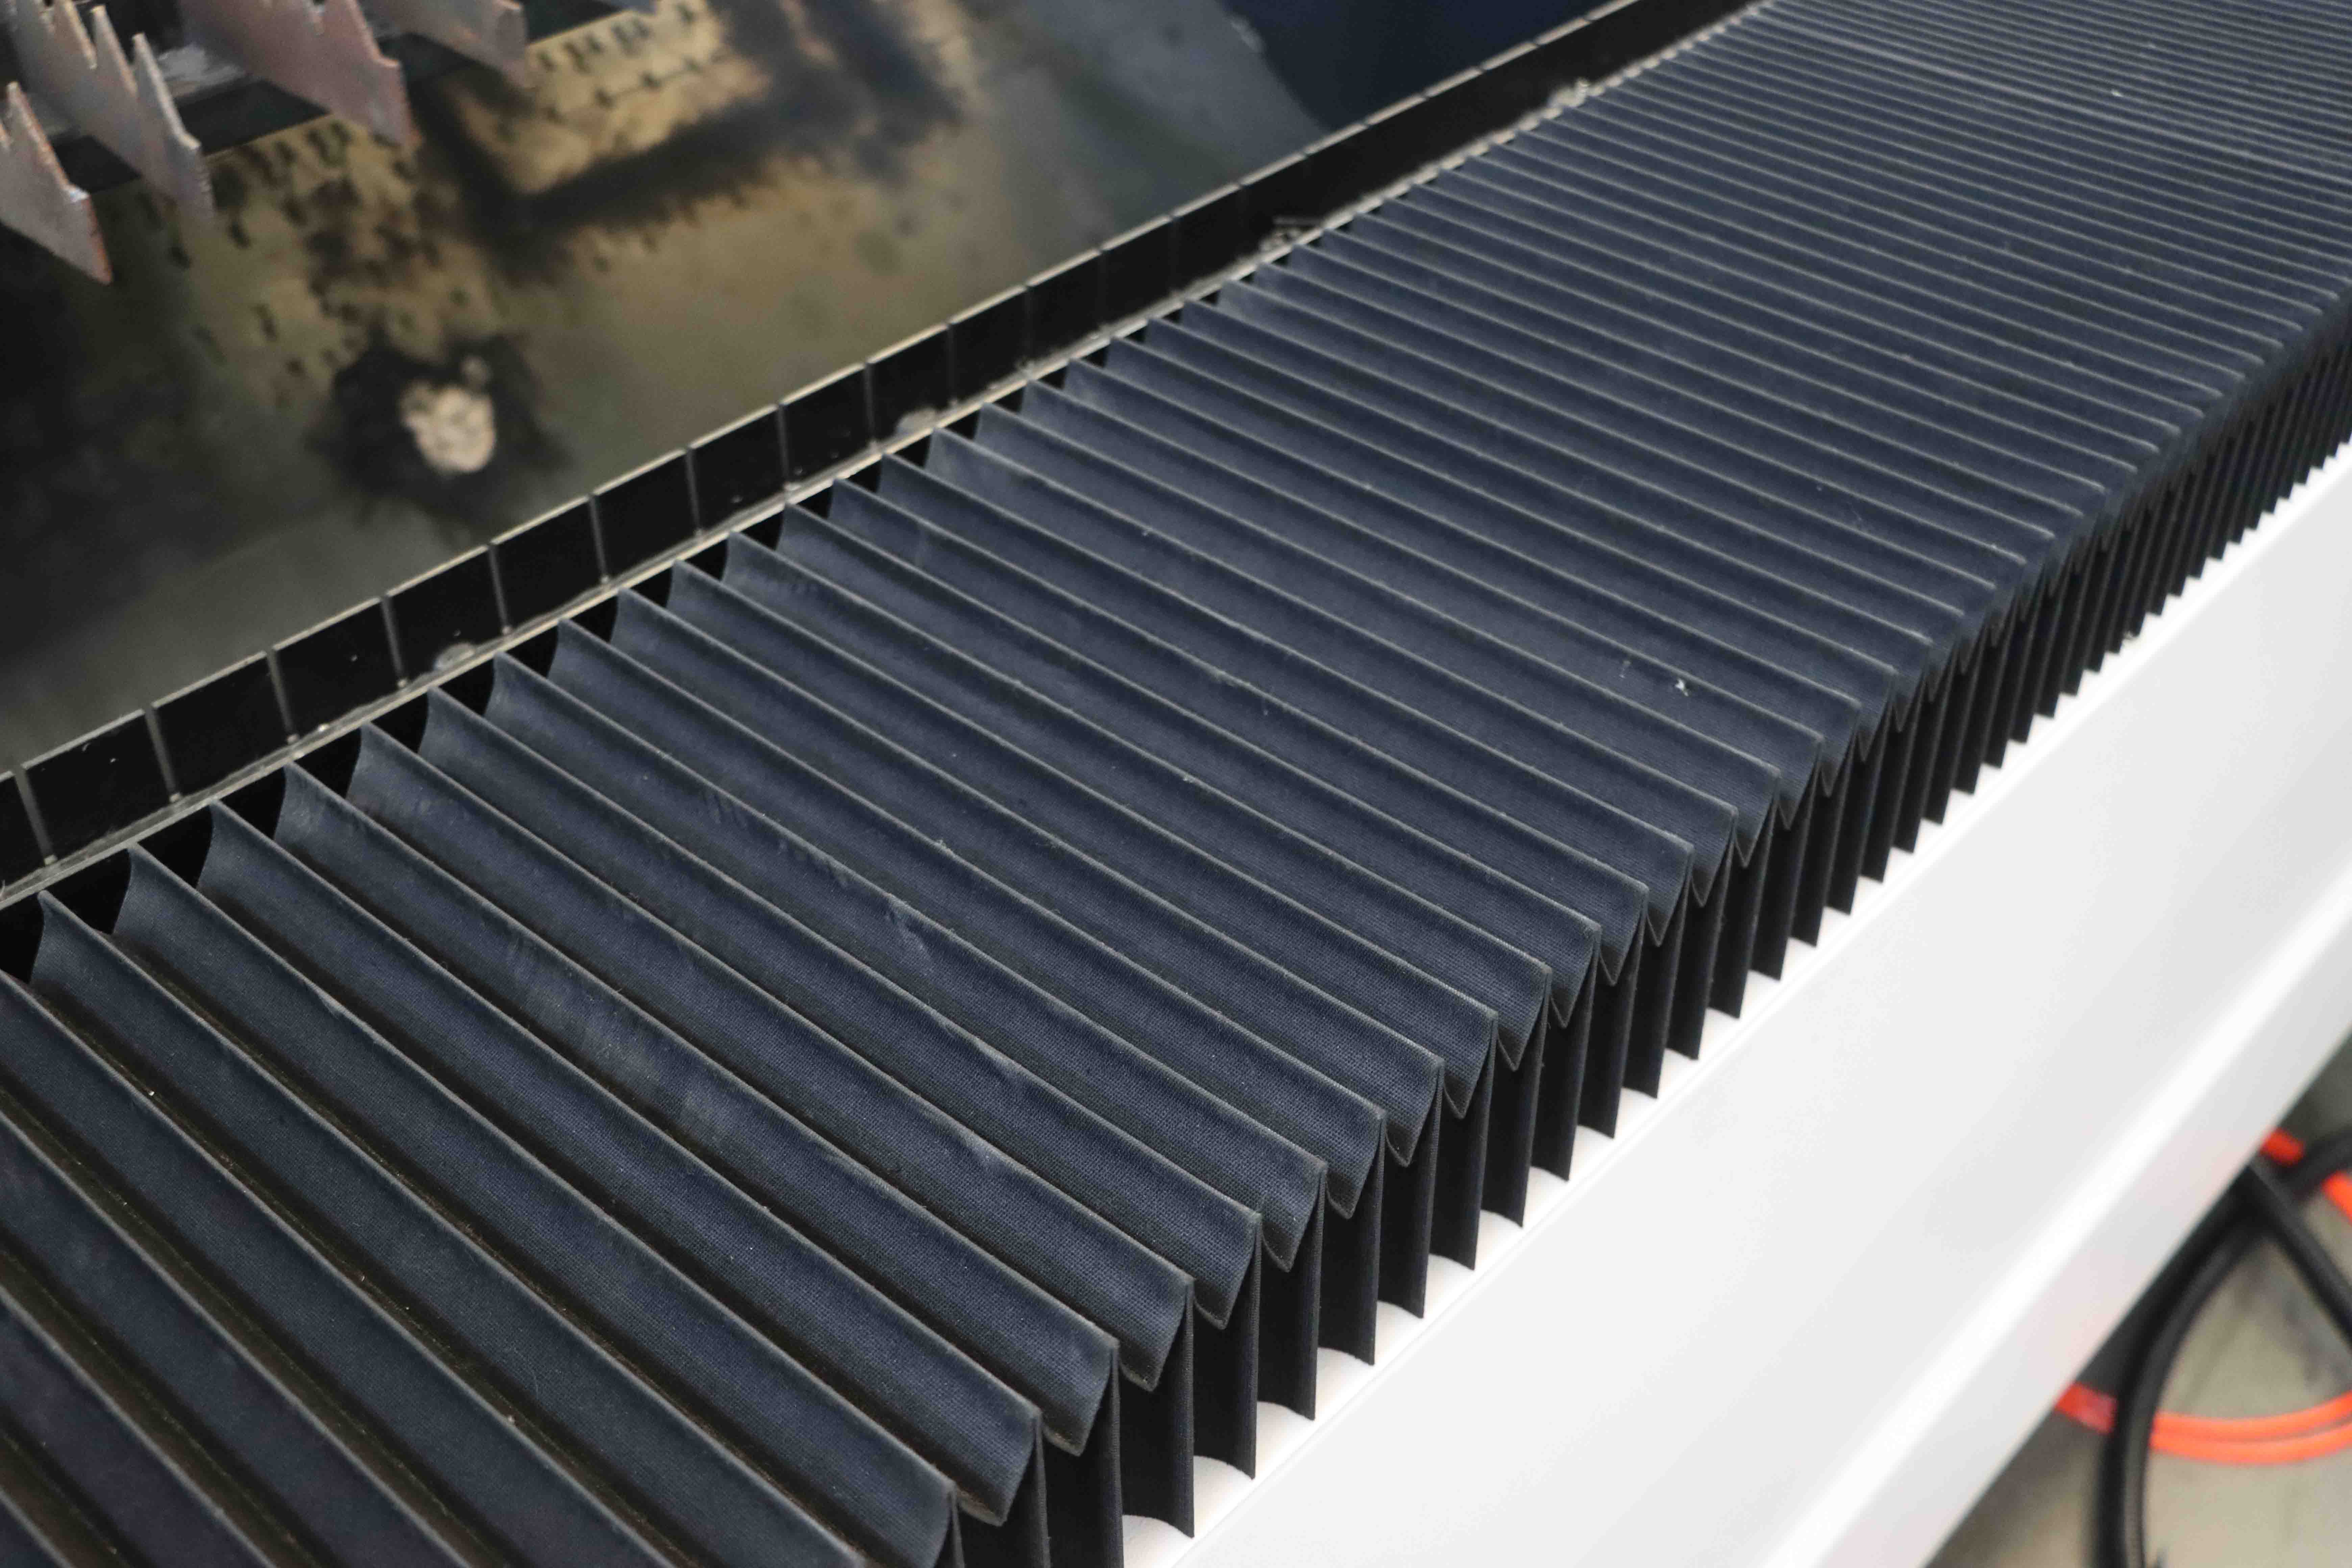
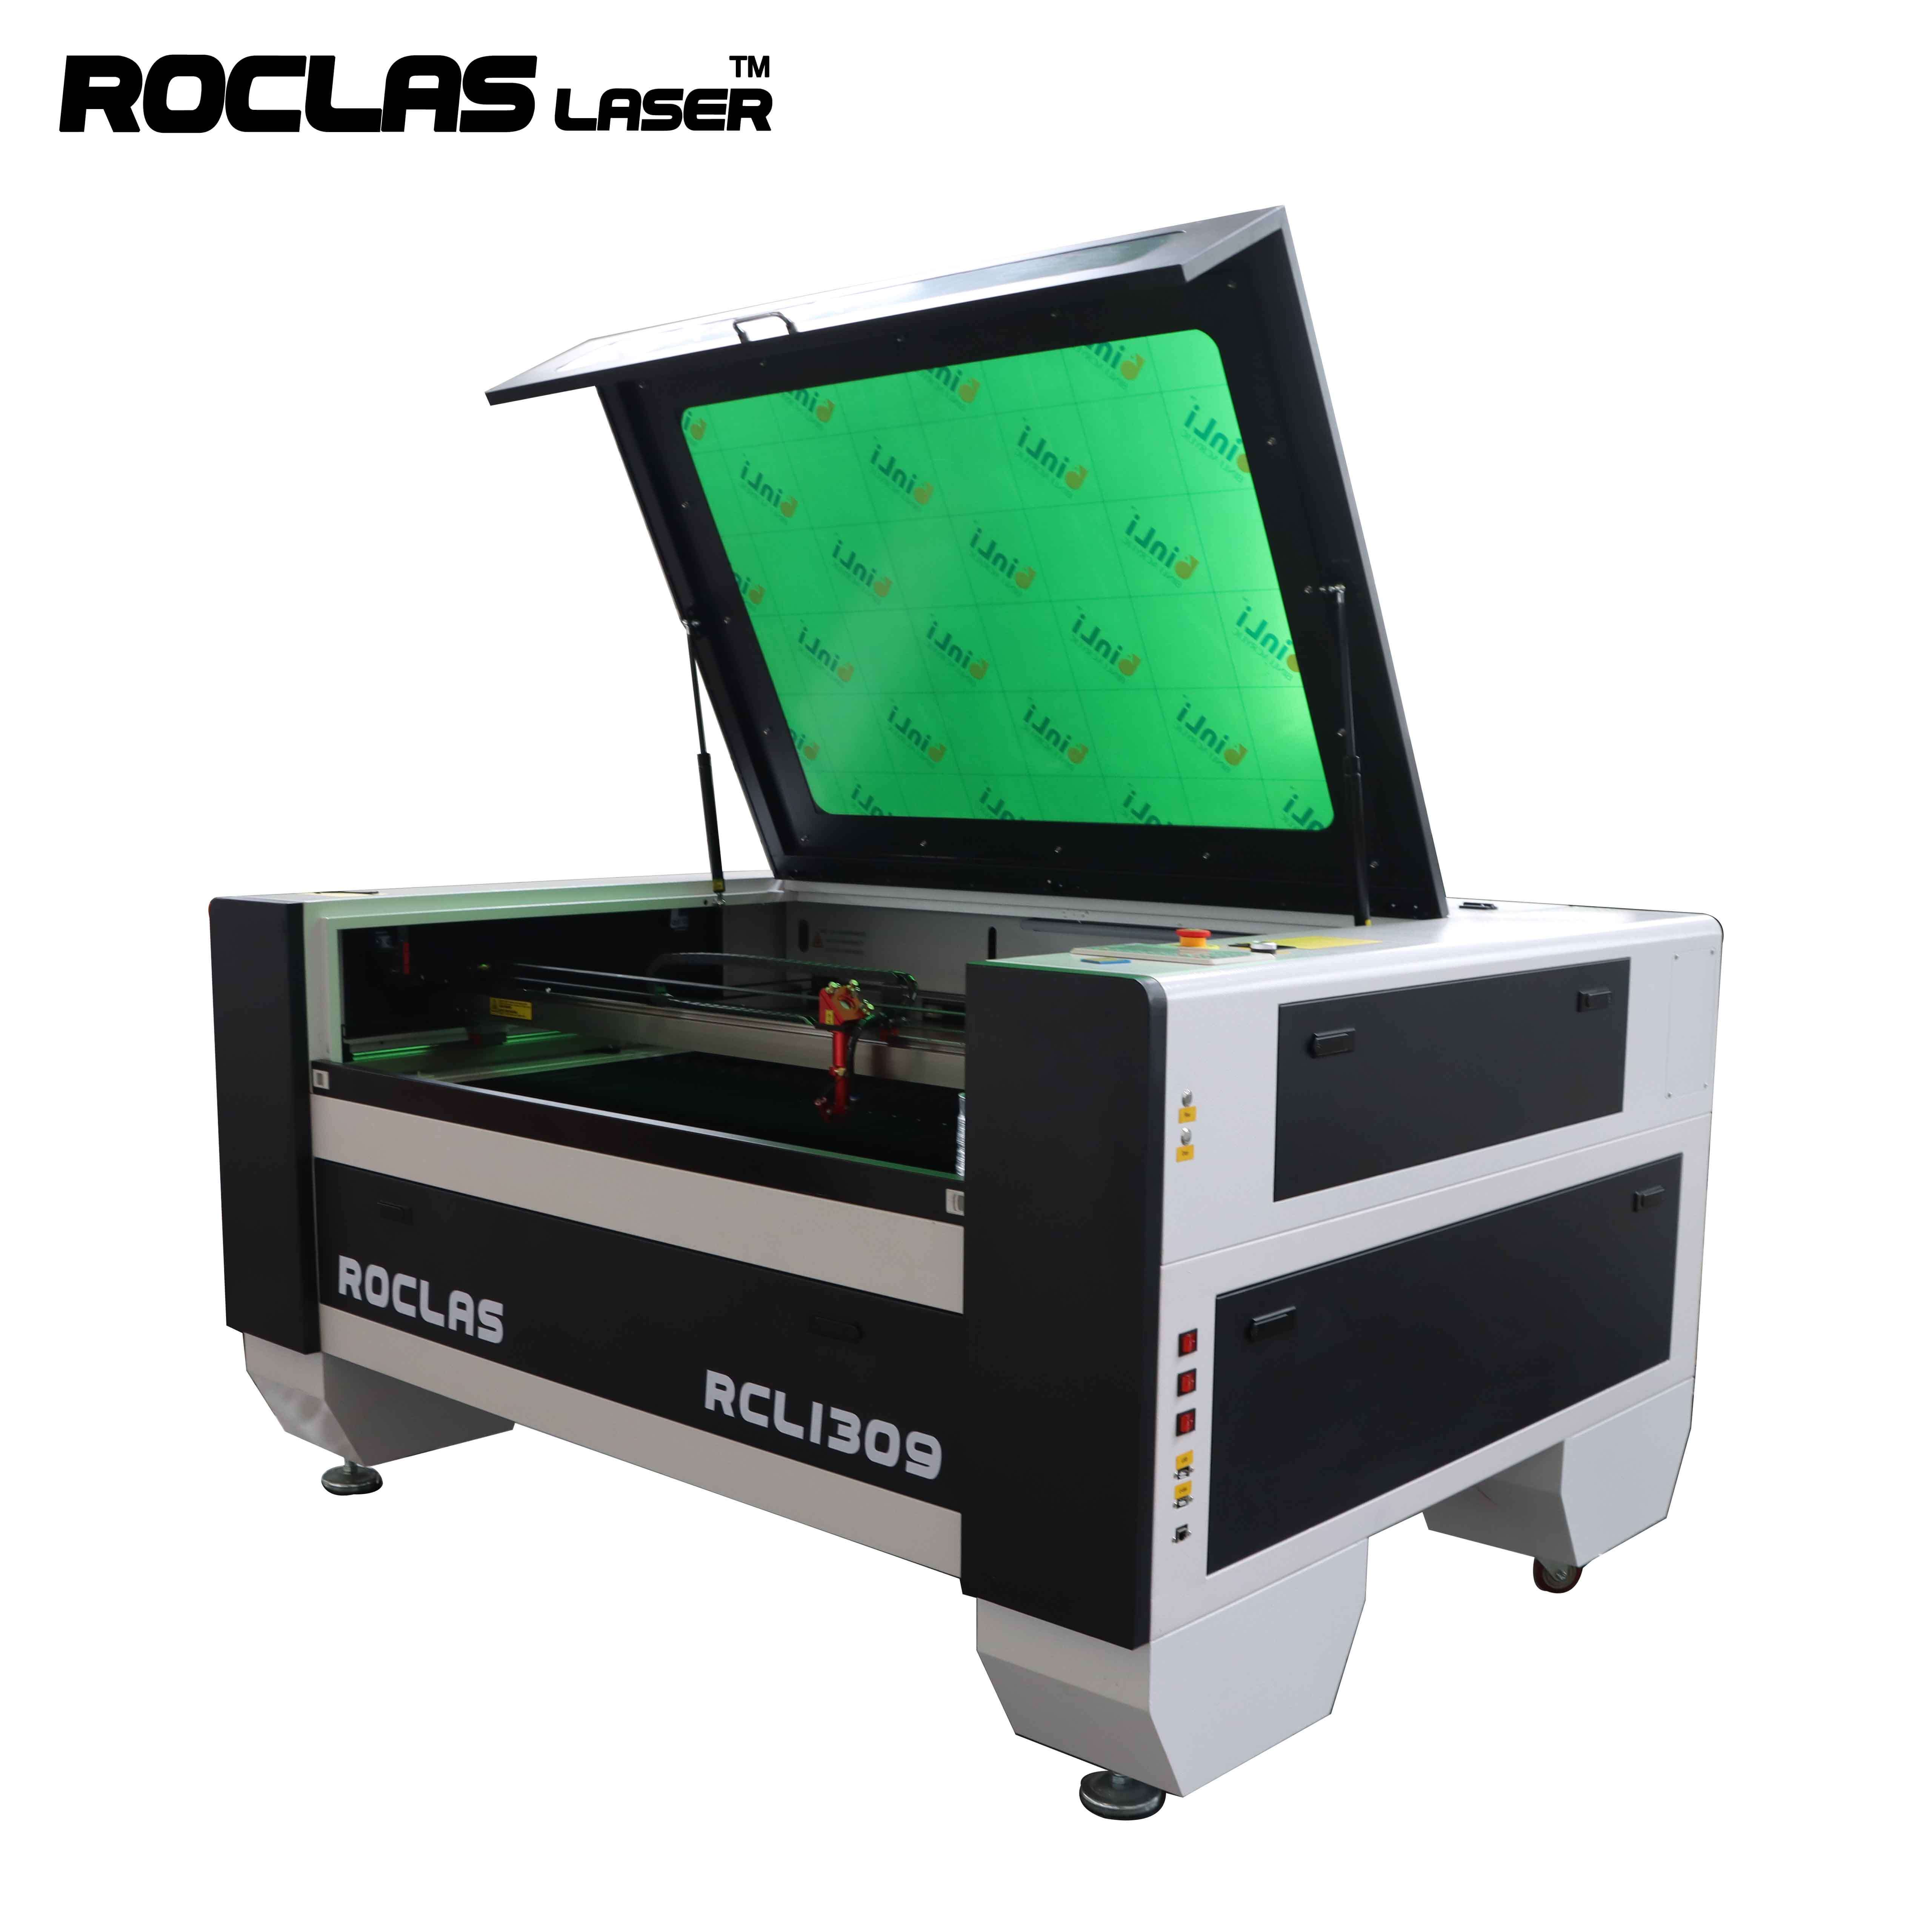
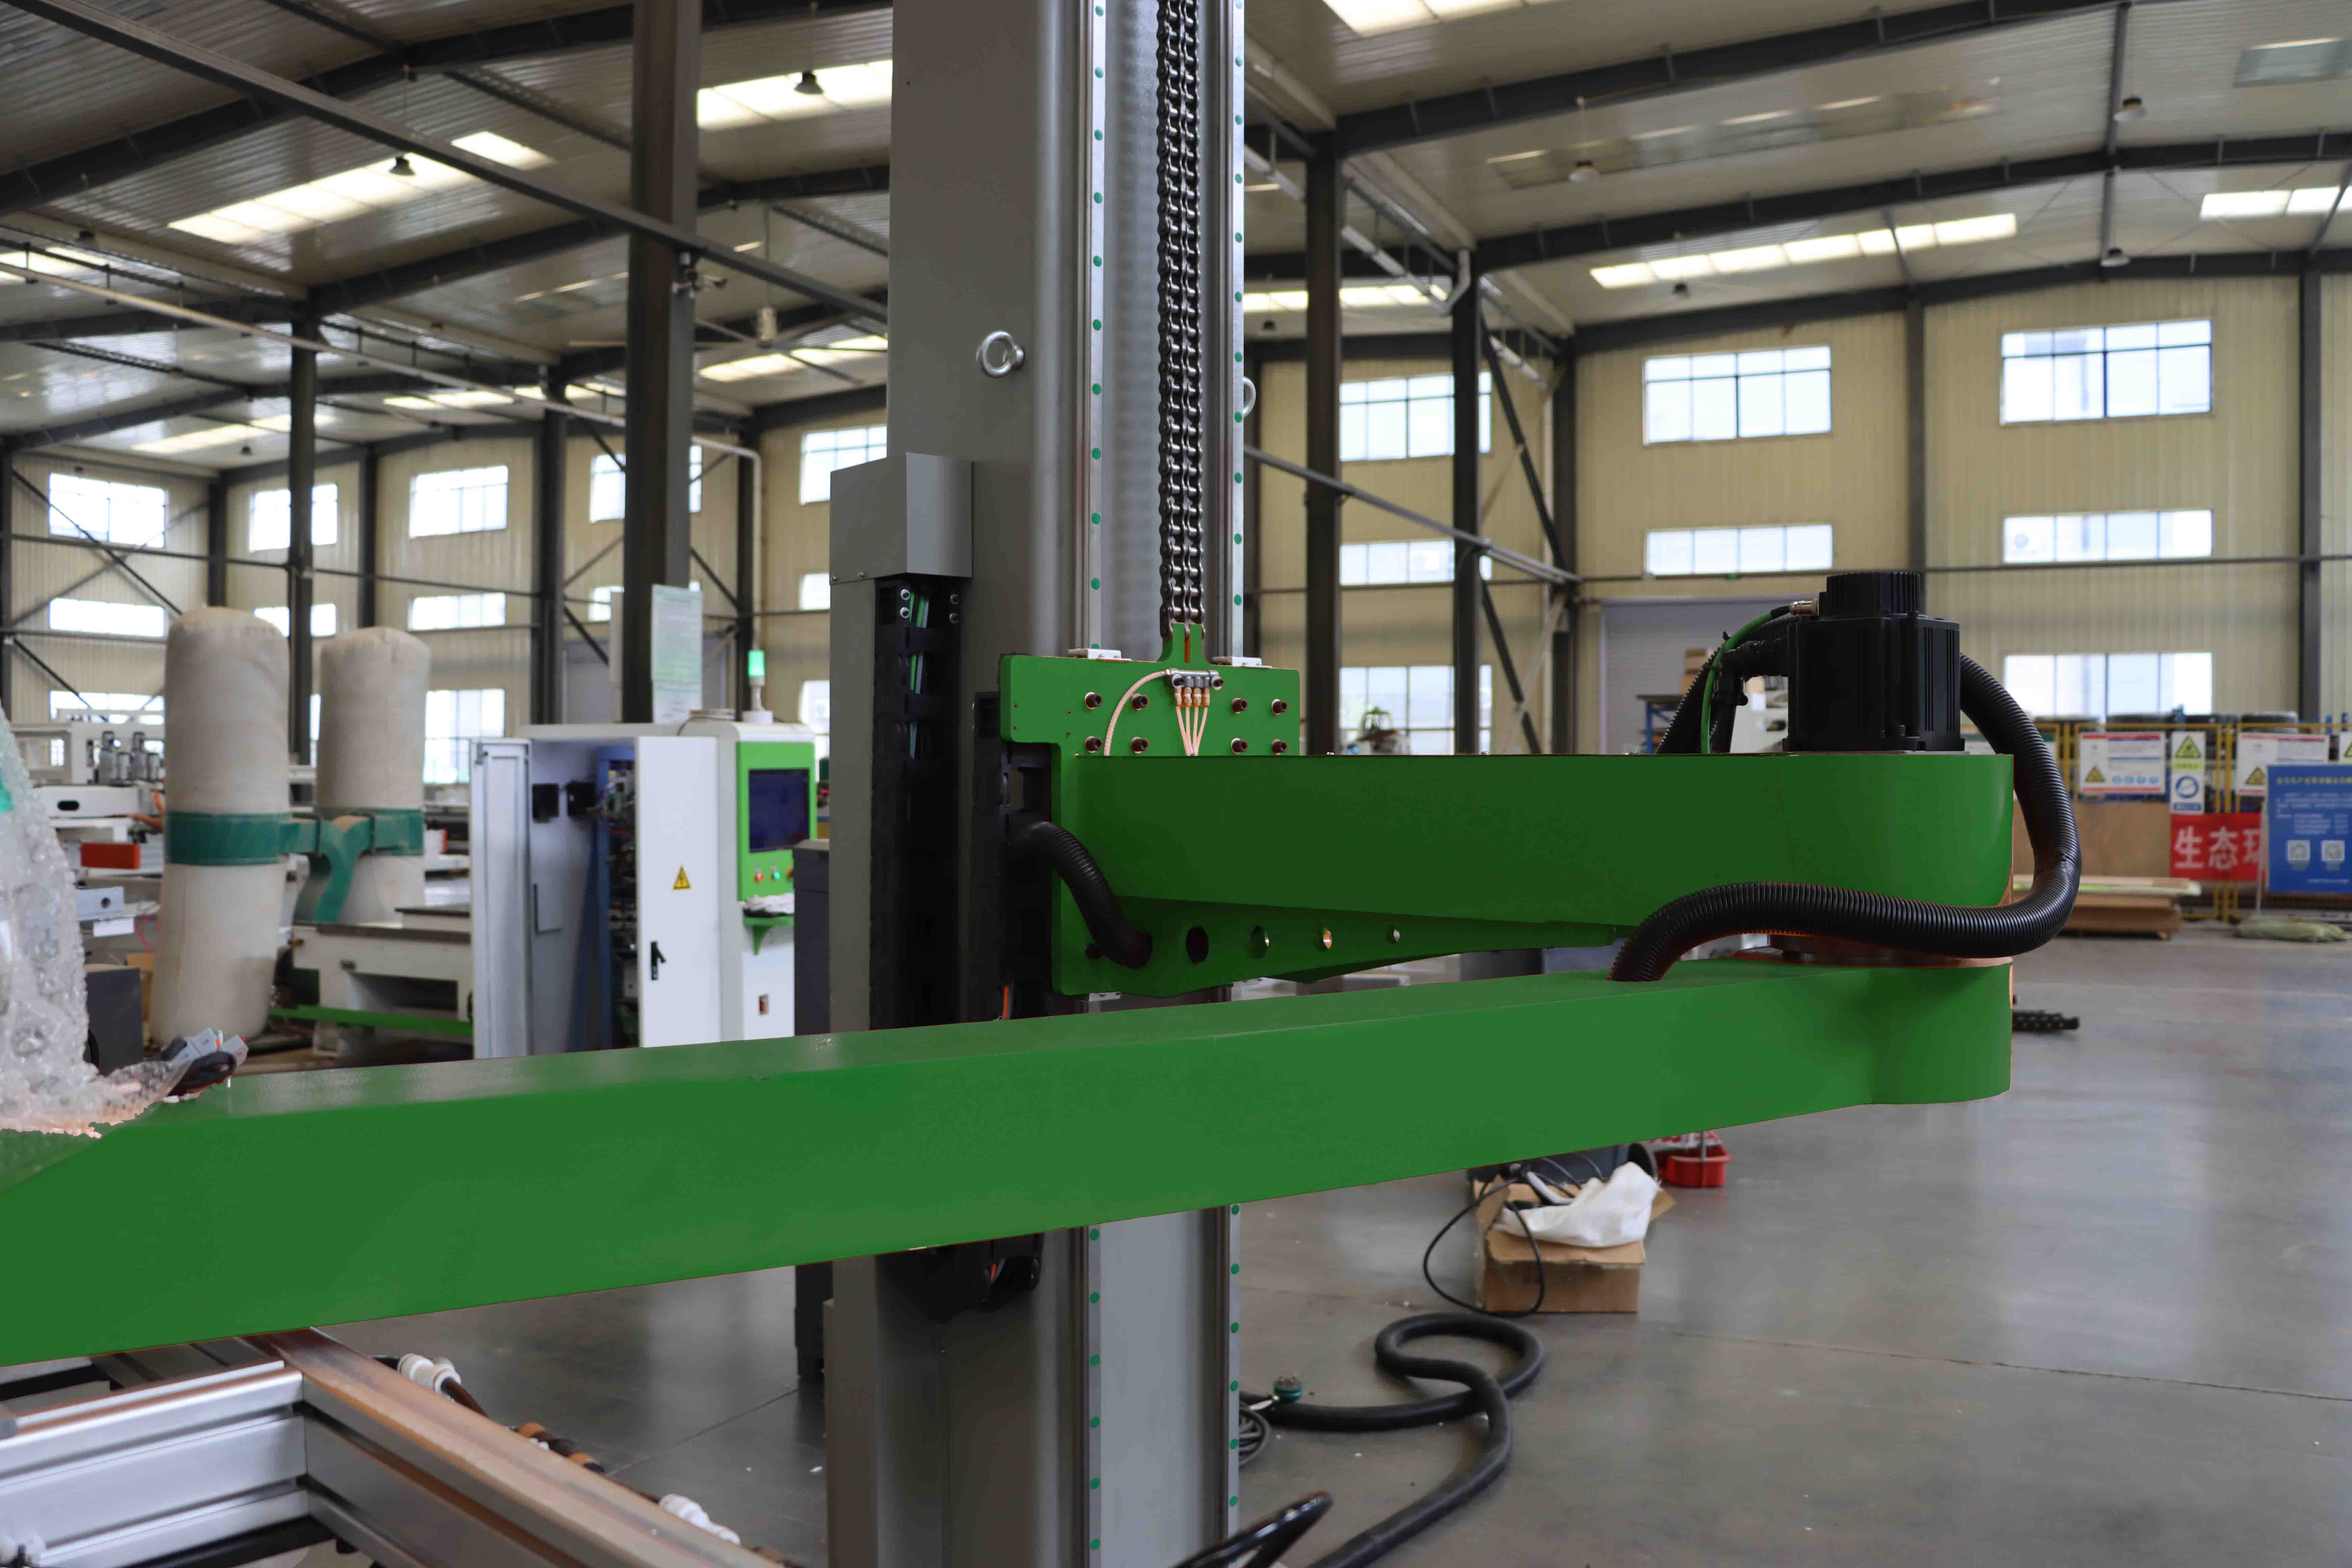
5. Cutting Head Body – Houses the optical components and ensures stability.
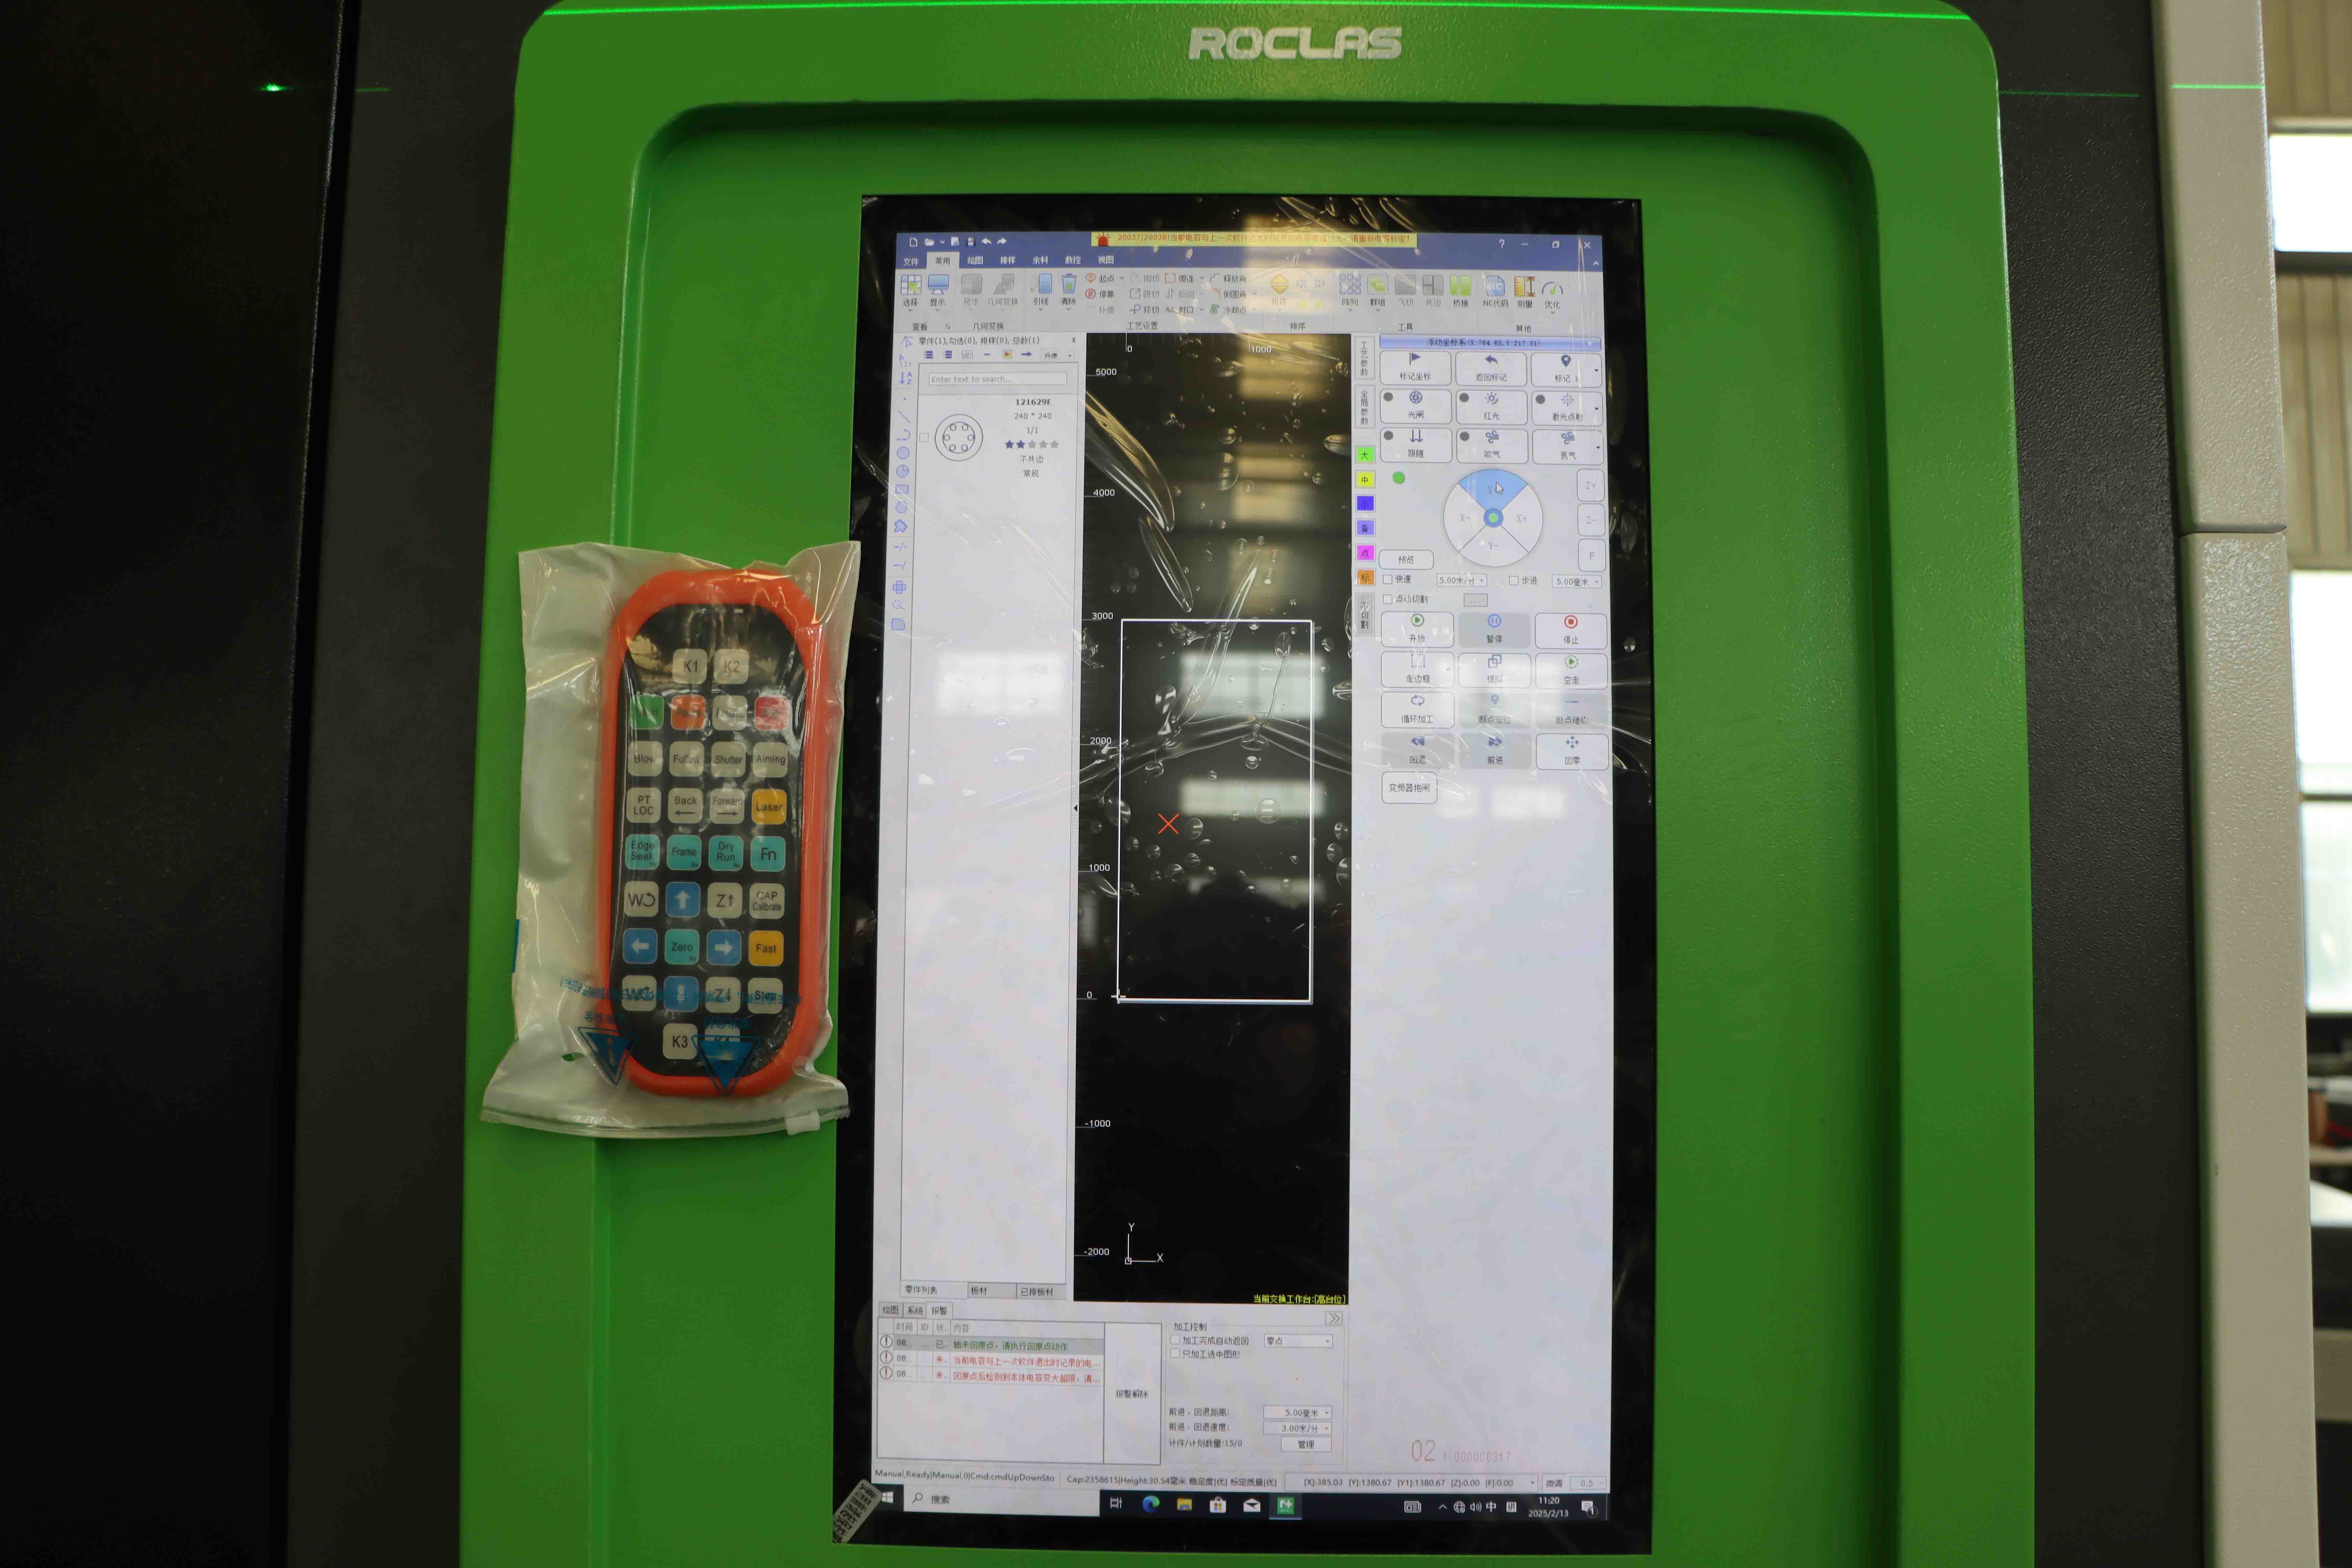
6. Motion Control System – A CNC controller (like Roclaser’s user-friendly CNC systems) guides the laser head for accurate movement.
---
Step-by-Step Assembly Guide
Building your own DIY fiber laser cutting head requires careful assembly. Follow these steps
Step 1 Secure the Laser Source
Mount the fiber laser module securely to a stable frame. Ensure proper cooling (air or water) to prevent overheating.
Step 2 Install the Collimating Lens
Align the collimating lens to expand the laser beam uniformly. Misalignment can cause power loss or uneven cuts.
Step 3 Add the Focusing Lens
Position the focusing lens to concentrate the laser beam to a fine point. The focal length determines cutting depth—Roclaser’s adjustable lenses provide flexibility.
Step 4 Attach the Nozzle
Choose a nozzle size based on material thickness. A 0.8mm to 2.0mm nozzle works well for thin to medium metals.
Step 5 Connect the CNC System
Integrate the cutting head with a CNC motion controller for automated precision. Roclaser’s plug-and-play CNC kits simplify this process.
Step 6 Test and Calibrate
Perform test cuts on scrap metal, adjusting power, speed, and focus until achieving clean edges.
---
Why Choose Roclaser for Your DIY Fiber Laser Cutting Head?
At Roclaser, we provide
✅ High-Quality Laser Modules – Reliable power output for consistent performance.
✅ Precision Optics – Durable lenses for sharp, distortion-free cuts.
✅ Easy-to-Integrate CNC Systems – Smooth operation with minimal setup.
✅ Expert Support – Technical guidance for DIY builders.
Whether you're a hobbyist or a small business, Roclaser’s components ensure professional-grade results.
---
Conclusion
Building a DIY fiber laser cutting head is a rewarding project that combines engineering and creativity. By using Roclaser’s premium parts, you can achieve industrial-grade cutting precision at a fraction of the cost.
Ready to start your project? Visit Roclaser today for the best fiber laser cutting components and expert advice!
---
Word Count 520
This article provides a detailed yet accessible guide for DIY enthusiasts while promoting Roclaser’s superior components. Let me know if you'd like any modifications!
